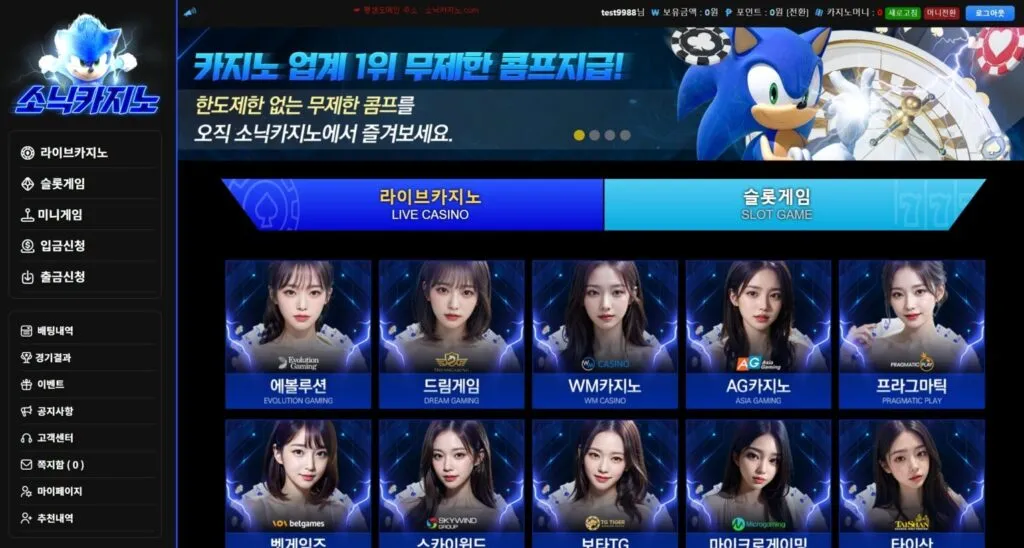
Here I will explain the twitch clipping from start to finish in an easy-to-follow step-by-step guide designed for both mobile and PC users. So, Let’s get started!
What are Twitch Clips?
Twitch has Clips feature that lets viewers capture 30 seconds of gameplay or short videos on any channel in real-time. They are a powerful way to showcase the best moments from live streams.
Whether a streamer or fan, clips are a great way to share whether a streamer or memorable moments. This is a great twitch’s clip feature that allows you to create twitch clips with just a click of the mouse.
Clip on twitch can be used for more than just sharing gaming moments. I have seen people using twitch clips for comedic skits, shoutouts to other streamers, or even for memes! So get creative and have fun with your twitch VODs!
How to Clip On Twitch (Windows PC & Mac)
Clipping your favorite Twitch moments is easier than ever! All you have to do is press the Clip button while watching a stream, and the clip will be instantly created and stored in your Clips Library.
After that, it’s time to share! Post your clips with friends or post them on Twitter or other social media accounts – no sweat involved.
You can then choose to share it with your friends, or post it to Twitter or other social media accounts.
Still need help? Check out our detailed step-by-step guide for creating clips for twitch on PC & Mac today!
Step 1: Log in to your twitch account.
Step 2: Go to (Content > Video Producer) and play it.
Step 3: If you see video preview, Click on Go to VOD page located at upper right corner of the preview.
Step 4: Look for the moment for you want to create a clip.
Step 5: By hovering over the cursor on the video player, you will see a “clip” icon near the player.
Step 6: A new popup window will appear (after clicking on clip icon) with the desired clip.
Step 7: You can determine the clip’s exact start and end time by adjusting the slider.
Step 8: In last, give your clip a name and click “Publish.”
This is it for how to clip on twitch. You have created a twitch clip in your channel.
How to Clip On Twitch (Mobile)?
After learning how to clip on twitch, let’s see how we can do this on mobile device. Twitch Clipping is very easy to do on both desktop and mobile. We learned how to do twitch clipping on PC and Mac, and now we will see how we can do twitch clipping on mobile devices.
To start, open the Twitch app and begin watching a stream. Here You’ll see a ‘Clip’ button located at the top right side. Press it to start creating your clip.
Again, follow the step-by-step below guide to do twitch clipping on a mobile phone:
Step 1: Click on “My Channel” to find the desired video from there.
Step 2: Locate your video by tapping your picture on upper right side and clicking “My Channel“.
Step 3: Click on the video and start playing.
Step 4: When you see the exact clip, tap on the video..
Step 5: Tap on the “Clip” icon on the right corner.
Step 6: At this time, click on “Edit”.
Step 7: In “Edit” menu, choose the clip length of your choice and tap on “Trim Clip”.
Step 8: Tap on “Done” to save all changes to the clip.
Step 9: Here, give your clip a name and finally tap “Publish”.
Step 10: You can share the clip on any social media, anywhere!
You can edit the clip length, add a title, and press ‘Create Clip.’ After you create clip, be sure to share it with your friends and other twitch viewers.
How to Save Twitch Clip In Camera Roll?
Whether you’re an avid Twitch user or new to the platform, it’s essential to know how to save clips from your streams in your device to share with others.
If you’re using an Android, you must start playing the clip and tap on the “Share” button at the top right corner.
From the list of options, select “Copy Link“.
Then go to Twitch Downloader and paste the copied link into the URL text box and hit “Download“.
Your clip will be downloaded into your device’s camera roll.
You can view the it using any video app.
If you are using an iPhone device, after copying the link from the twitch app, you need to open the Safari Browser and Go to Twitch Clip Downloader. After that paste the copied link and hit “Download“.
Now, Go down and Look for “Tap and Hold This Link” option. After Tapping this, you will see “Download Linked File” option. Tap on it and close the video if it starts playing.
Open the file that is downloaded and press the blue “Share Icon” and from the list of options, select “Save Video” to finally save it to your camera roll.
That’s it.
How to Manage Twitch Clips
Once we learned how to clip on twitch and create clips, now it’s time to see how to manage clips on twitch. Clips allow viewers to capture and share memorable moments from a stream, boosting visibility and engagement. Luckily, managing Clips of twitch doesn’t have to be a headache.
Let me show you how to manage your twitch clip.
You can sort your clips by date, view likes and comments on each clip, or delete a clip or can even organize your clips into folders so that they’re easier to find.
This makes managing your clips simple and efficient, so you can make sure you’re always making the most of the content you produce.
How to Delete Twitch Clips?
Now let’s see how we can delete clips on twitch. Deleting twitch clips created in twitch is not tricky, but this action is permanent. So, think twice in order to remove clips from your channel. If you are sure about your actions and really want to delete clips, follow the below-mentioned guide on how to delete a twitch clip:
That’s it! You have deleted all the selected clips from your channel.
How to Share Twitch Clips?
Finally, it’s time to share your created twitch clip with the world. It’s straightforward to do. After creating clips, twitch allows everyone to share the created clips on all the popular social media platforms like Facebook, Twitter, and Reddit.
If your favorite social media is not on the list, don’t worry! You will have the option to copy the clip URL of your created twitch clip that you can use to download clips as well. Just do that and easily share clips URL with anyone.
Download Twitch Clips
You can also download twitch clips from the clips manager. Just select all the clips you want to download, click share button and from the new popup bar, click on the icon with arrow pointing downwards. That’s it! You twitch clip is downloaded in mp4 format.
More Frequently Asked Questions (FAQs)
Conclusion
From the simple steps of how to clip on Twitch on mobile and PC to managing your clips and saving them in the camera roll, now you can easily access, share and show off your epic clips! With the proper knowledge and some practice, anyone can become an expert clipper. So get out there, explore, and discover your next big moment. Have fun!